


After a car accident, Tesla home chargers may exhibit malfunctions due to damage or faulty wiring, including power supply disruptions, communication errors, and sensor malfunction. Inspection for visible damage is crucial. Resetting the charger to factory settings via unplugging, locating the control panel, holding down the reset button for 5 seconds, and confirming the change is necessary before recalibration. Professional repair services are recommended for structural damages. Recalibration ensures optimal charging performance and safety features; consult manufacturer guidelines or official EV repair services for guidance. Address any remaining repairs after recalibration for secure charger operation.
After a car accident, your Tesla home charger might experience malfunctions. Understanding common issues and knowing how to reset and recalibrate it is crucial for safe operation. This guide walks you through identifying post-accident problems with your Tesla home charger and provides step-by-step instructions on resetting and recalibrating the device. By following these easy steps, ensure your charger functions optimally and securely after an accident.
- Understanding Tesla Home Charger Malfunctions Post-Accident
- Steps to Reset Your Tesla Home Charger After Damage
- Recalibrating Your Charger: A Guide for Safe Operation
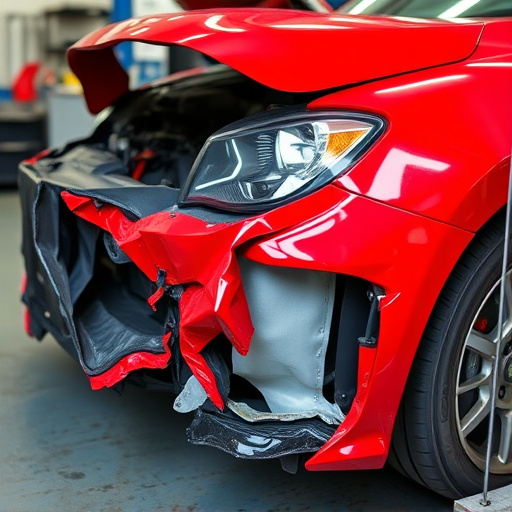
Understanding Tesla Home Charger Malfunctions Post-Accident

After a car accident, your Tesla home charger might exhibit malfunctions due to various reasons, including potential damage during the incident or interference from faulty wiring. Understanding these issues is crucial for effective troubleshooting and ensuring safe charging post-accident. Many common problems include power supply disruptions, communication errors between the vehicle and charger, and sensor malfunction. These problems can manifest as charging errors, unexpected behavior, or complete failure to charge.
If you’ve experienced a Tesla home charger malfunction after an accident, it’s advisable to inspect for visible damage to both the charger itself and your vehicle. In some cases, minor dents or scratches in the charger’s housing or nearby walls could disrupt proper alignment and cause connectivity issues. Professional automotive repair services, including body shop repairs, can help address structural damages while ensuring safe and reliable charging functionality. Recalibration and reset are essential steps after any accident-related charger malfunction to restore optimal performance.
Steps to Reset Your Tesla Home Charger After Damage
After a Tesla home charger experiences damage, resetting it is an important step before recalibration. Begin by unplugging the charger from its power source and allowing any residual energy to dissipate for safety. Next, locate the control panel on the charger, often a digital display with buttons for navigation. Press and hold the reset button for at least 5 seconds until a confirmation message appears on the screen. This process will return the charger to its factory settings, erasing any previous configurations or errors.
Once reset, you may need to recalibrate certain functions like charging speed or connectivity. This typically involves following the on-screen prompts and potentially connecting your Tesla vehicle again. If the damage affects the physical structure of the charger—such as a cracked housing from an accident—it’s advisable to seek professional vehicle repair services that specialize in car paint and bodywork for any necessary replacements, ensuring optimal functionality and aesthetics.
Recalibrating Your Charger: A Guide for Safe Operation
After any accident involving a Tesla home charger, recalibration is a crucial step to ensure safe operation and prevent potential risks. Recalibrating your charger involves adjusting its settings to match the updated hardware after repairs or adjustments have been made. This process helps maintain optimal charging performance and safety features, such as temperature regulation and current control.
To safely recalibrate your Tesla home charger, begin by consulting the manufacturer’s guidelines or contacting official car repair services specializing in electric vehicle (EV) maintenance. They will walk you through the steps, which may include checking connections, updating firmware, and testing various components. Once complete, ensure all repairs, including any vehicle dent repair or collision damage, are addressed to avoid future issues. Recalibration is a straightforward yet vital process that guarantees your charger operates seamlessly and securely within your home.
After a collision, your Tesla home charger might experience malfunctions. Properly resetting and recalibrating it is crucial for safe operation. By following these step-by-step guides, you can ensure your Tesla home charger functions optimally post-accident, providing peace of mind during the charging process. Remember, a well-maintained charger is key to keeping your electric vehicle charged and ready for your next journey.